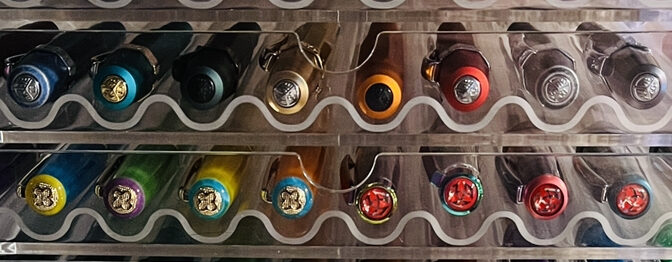
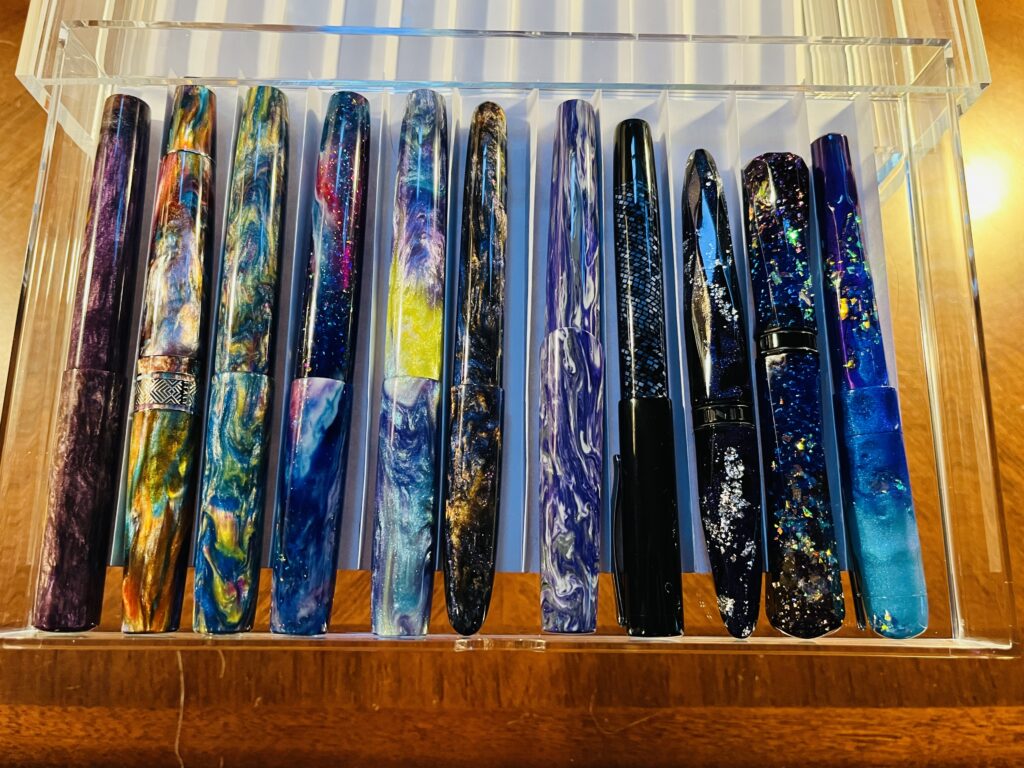
When I started this whole journey I probably should have realized I would end up collecting these lovely shiny pens, because this is what I do. When I finally did realize this I started looking into pen storage options. I went the cheaper route because I’d much rather spend my money on shiny pens, and ended up with a pretty standard two drawer with a top area display with glass. Not super well made, off Amazon, but it would work to see me through that time period I try to give myself when I first get interested in something new. If I abandon it quickly then I won’t have spent too much money. Once I can be sure I am going to really keep up the interest, then I start investing. As someone who is Autistic and ADHD it helps me curb unnecessary spending. But that’s another post!
So back to pen storage. Once I started getting close to filling the first box I looked for a portable option, ever hopeful that I’ll be able to go outside some day and if I ever went to a con, I’d want a way to carry pens I’d bought or wanted to trade or show off. Then THAT started to fill up and I got to thinking about how I would want to do this long term. And the biggest thing that bugged me about both of the ways I was storing pens at the time was that I can’t see the pens casually. There was only one place that was possible, and for only some of the pens, and it was top down. Not good enough!
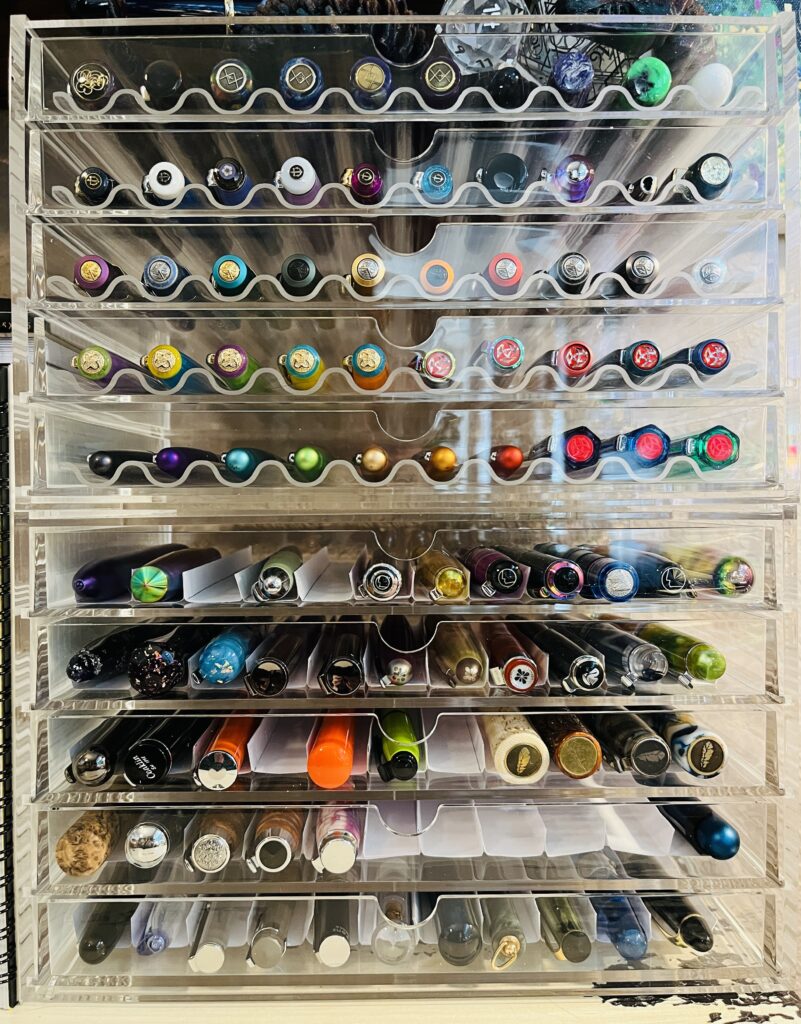
It was around this time someone I had recently started following on Instagram posted a photo of their pen storage – and it was amazing! Clear acrylic drawers, with clear acrylic inserts, and you could clearly see all of the pens, and it was gorgeous! I immediately wanted to replicate, fortunately there were links in the thread – Muji drawers, and specially made drawer inserts. So I immediately started sourcing the drawers, easy. But the specially made drawer inserts were a whole other thing. Then I saw that this lovely human was selling some! Immediately contacted, and we agreed on a price and suddenly they were on the way!
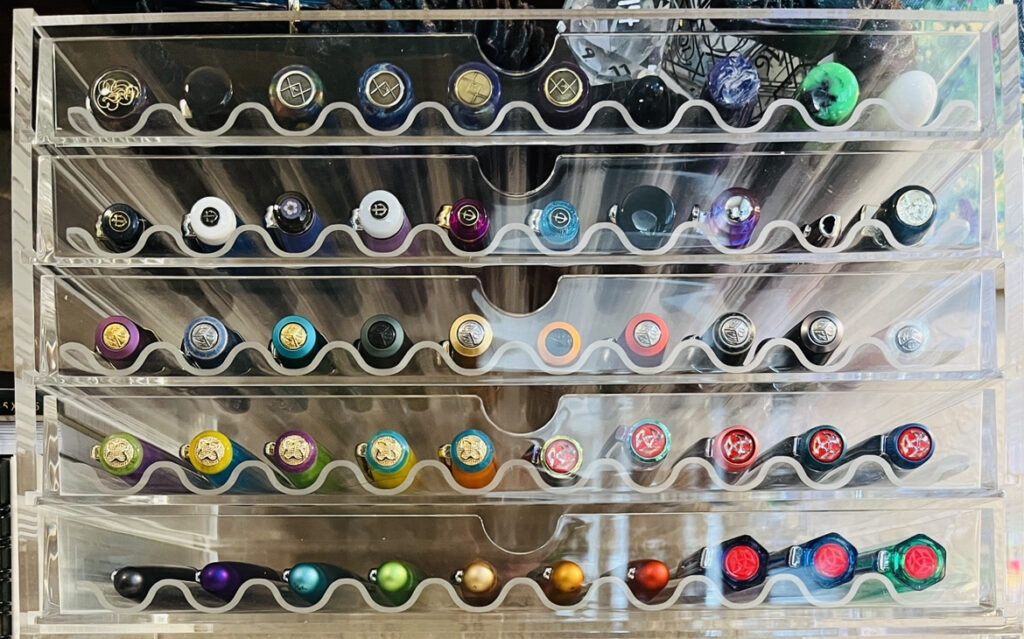
When they got here, I assembled everything, put all of my favorite pens in there, could see the rainbows I’d collected, the sparkle, all at a glance. I was so excited! It is so pretty! And then…I realized I was already running out of room. And there were no more drawer inserts. (Custom made.)
So I put my thinking cap on.
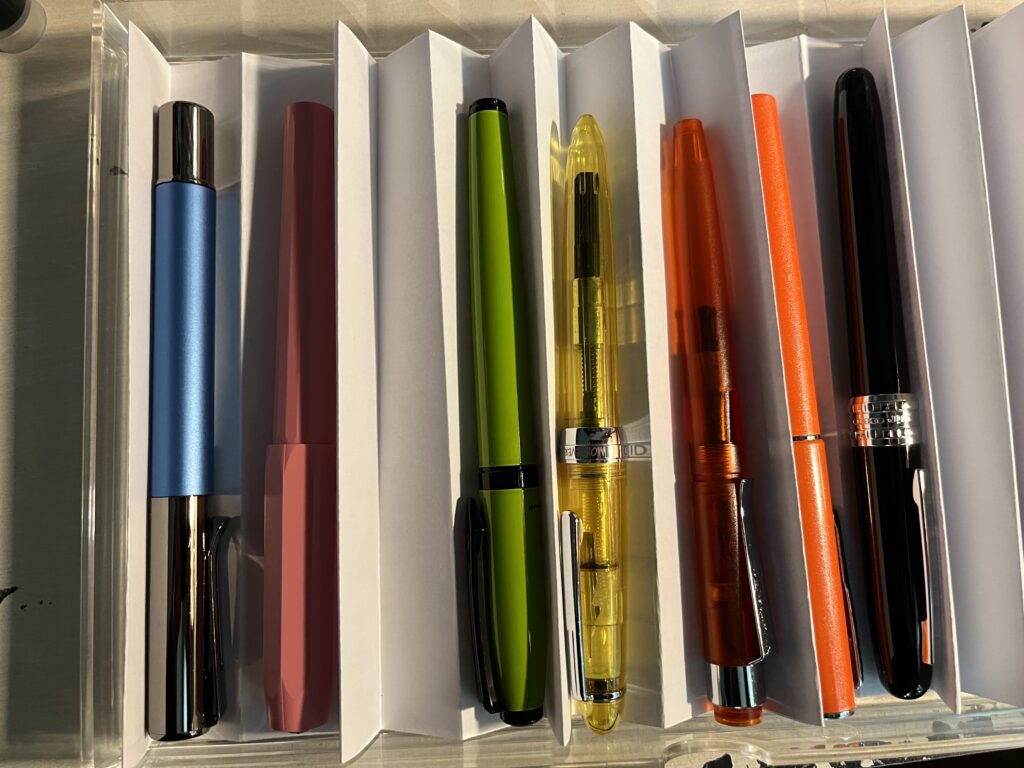
I tried this first, just folded it accordion style. I knew I couldn’t duplicate the graceful swoops of the acrylic inserts, but I thought I’d try the V’s, see if the pens would be separated and kept separate in a similar way. Not transparent, but at least the drawers themselves were still clear acrylic. After I made up a bunch of them, I put some pens in there, and realized the heavier ones would just flatten the fold. And the folds were a little imprecise, so it kind of looked like a jumble when all was said and done. I was not satisfied – I at least wanted the pens to have a little bit of separation.

Next I got to thinking about how Husband could 3D print these for me. I felt like the swoop bit was hard, so I tried to think of a simpler way to get what I wanted and realized it could just be square shaped. (According to Husband, the swoops are not hard, ahem.) THEN I realized I could make that out of paper, and a new idea was born!
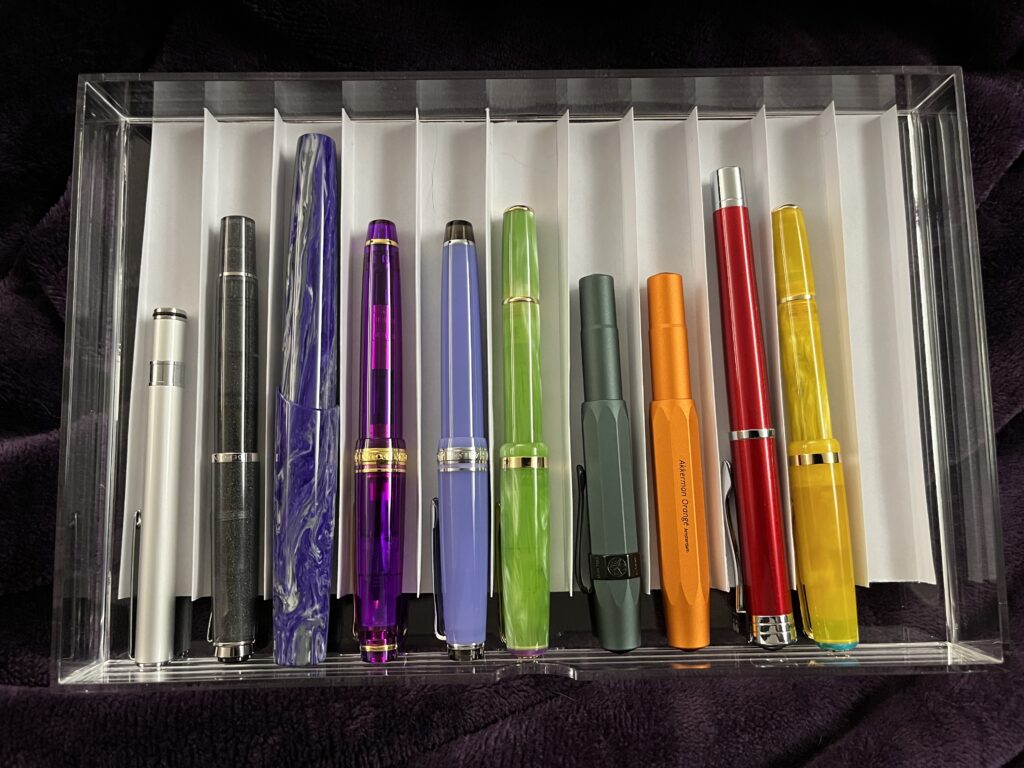
The first set I made was okay – I measured the width I needed correctly, but I made the “walls” too high.
So my next set I made smaller, but it was turning out imprecise again. I stopped to think and decided I needed to math this. Next I measure a bunch of stuff, try a couple of things, and eventually landed on a solid process that gave me lower “walls,” was efficient with the paper I was using, sturdy enough to separate the pens, and looked much neater.
I churned out the separators and I am really pleased with this. As I was doing it, I realized it was very much like what I’d been doing the previous afternoon, sitting in the same place. When I had been folding mini origami stars. I was folding paper to make pen separators – therefore! I declare these Origami Pen Dividers. Tada!
Would you like to do this for yourself? I won’t drag you through all of the iterations, instead, here is the final result! These instructions are based on the Muji drawers I linked above.
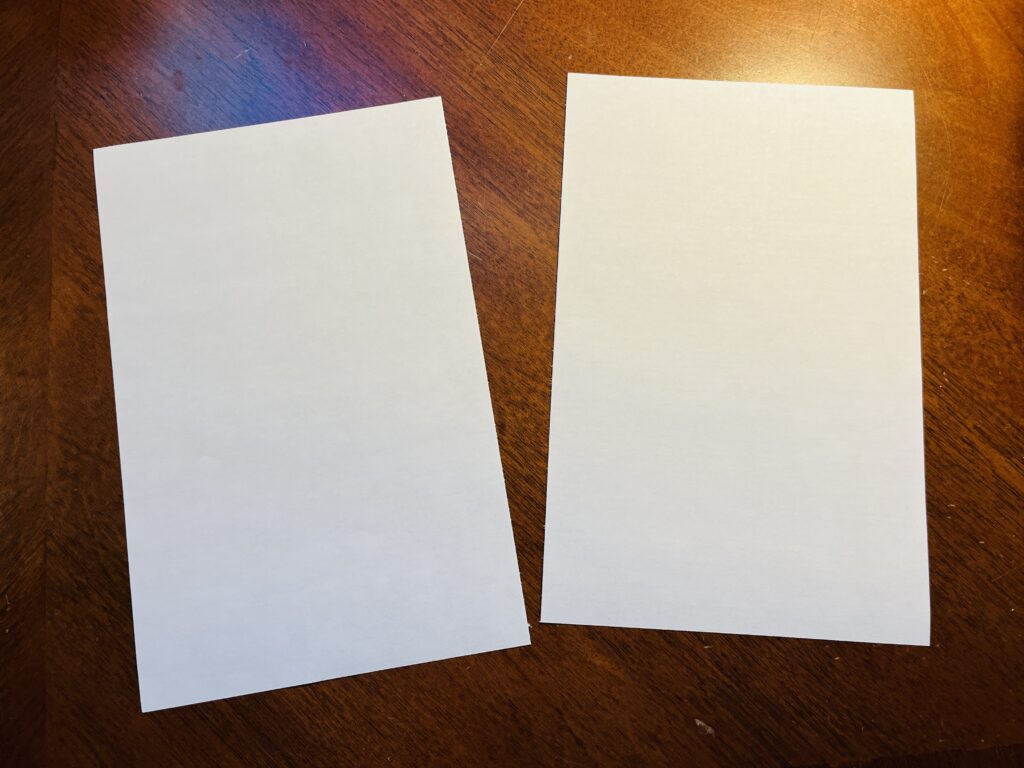
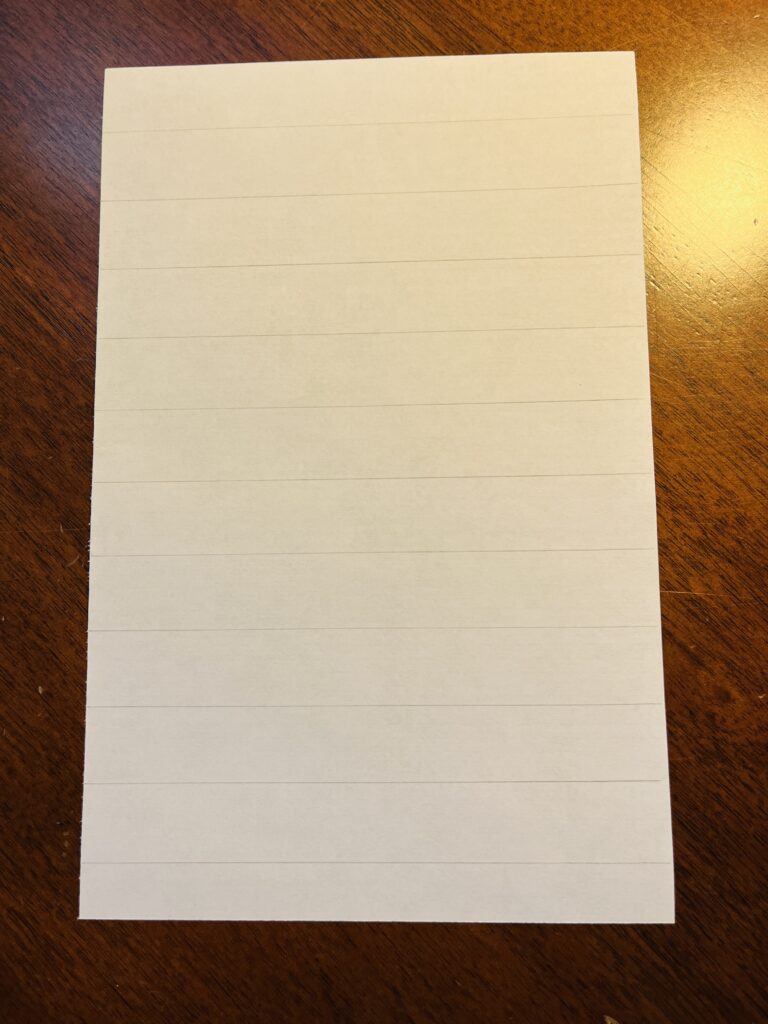
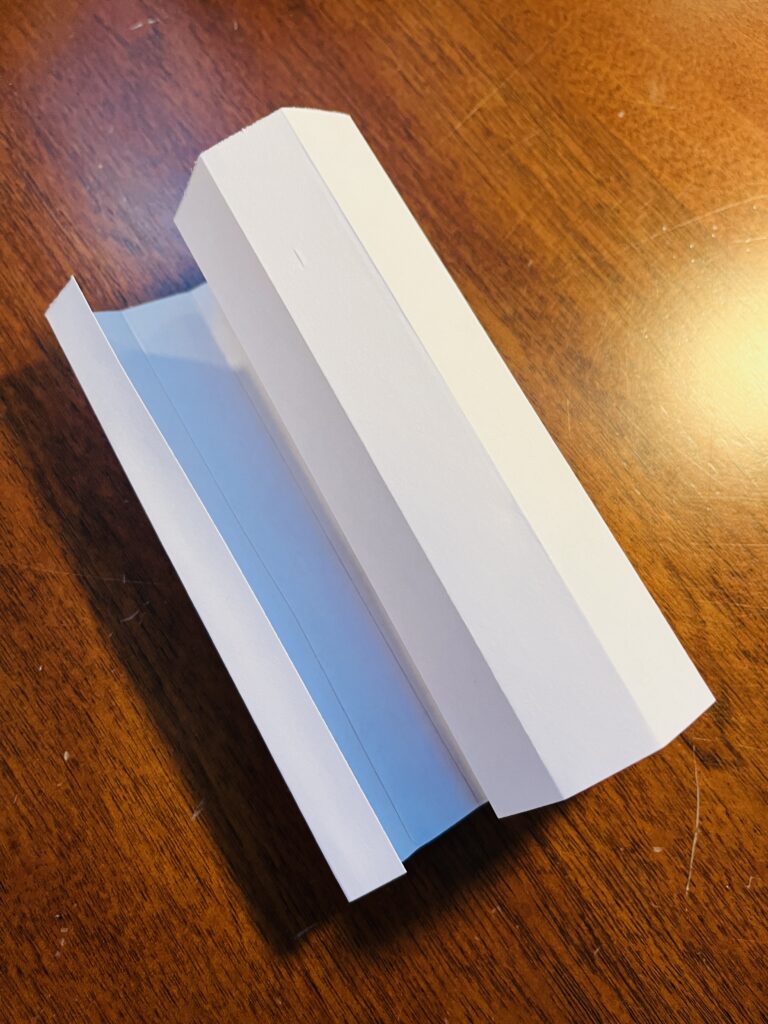
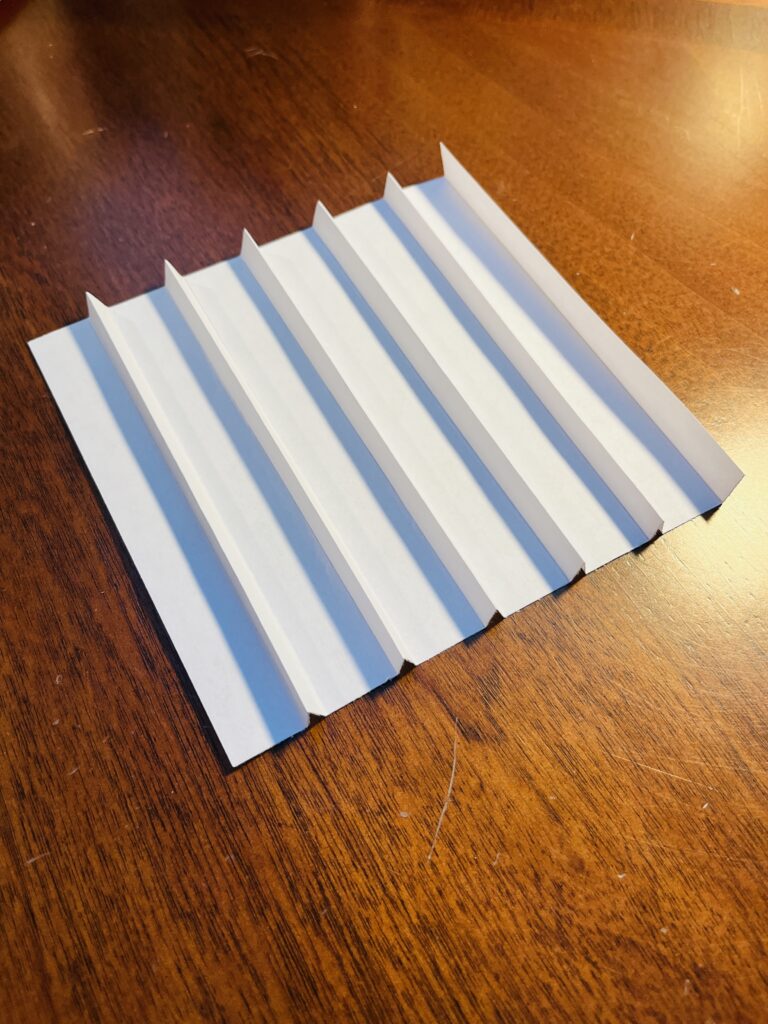
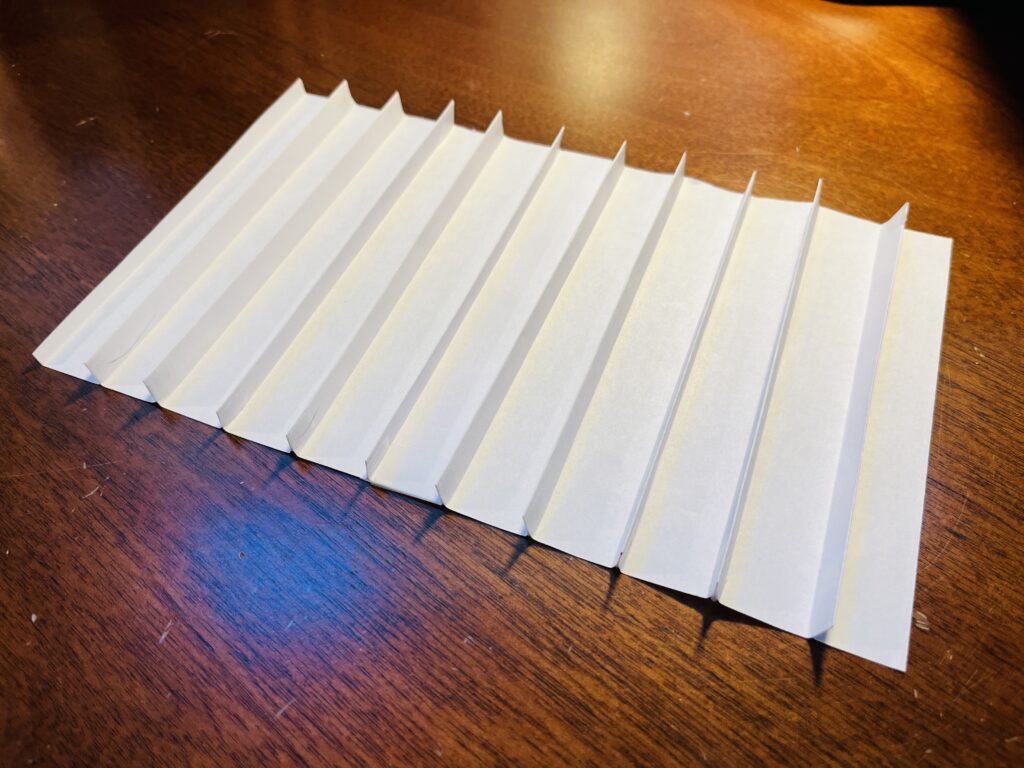
You’ll need to use one whole piece of paper for each drawer, so with 5 drawers, that’s 5 sheets of 8.5×11” paper, cut in half. You’ll need to fold both halves like the instructions above walk thru, and you’ll need both half’s in each drawer.
I wouldn’t use paper any thinner than computer paper, but thicker would probably be fine. These are just the measurements I use, because I like the “walls” to be a little lower and 1.5mm is the width I got from some of my wider pens. Feel free to use different measurements if you’d like! I recommend tape instead of staples, because I think the staples would scratch the pens. I used white paper to make the colors of the pens pop, and I cut the page in half so that the separators were shorter than the depth of the drawer, to keep as much clear acrylic visible as possible but still have a nice set of separators.
This is a neat, simple, home made set of drawer inserts. If clear acrylic display for your pens is something you are interested in, and you don’t have access to the clear acrylic inserts or your own 3D printer haha – then this is a decent solution to get you by for a while. Enjoy!

